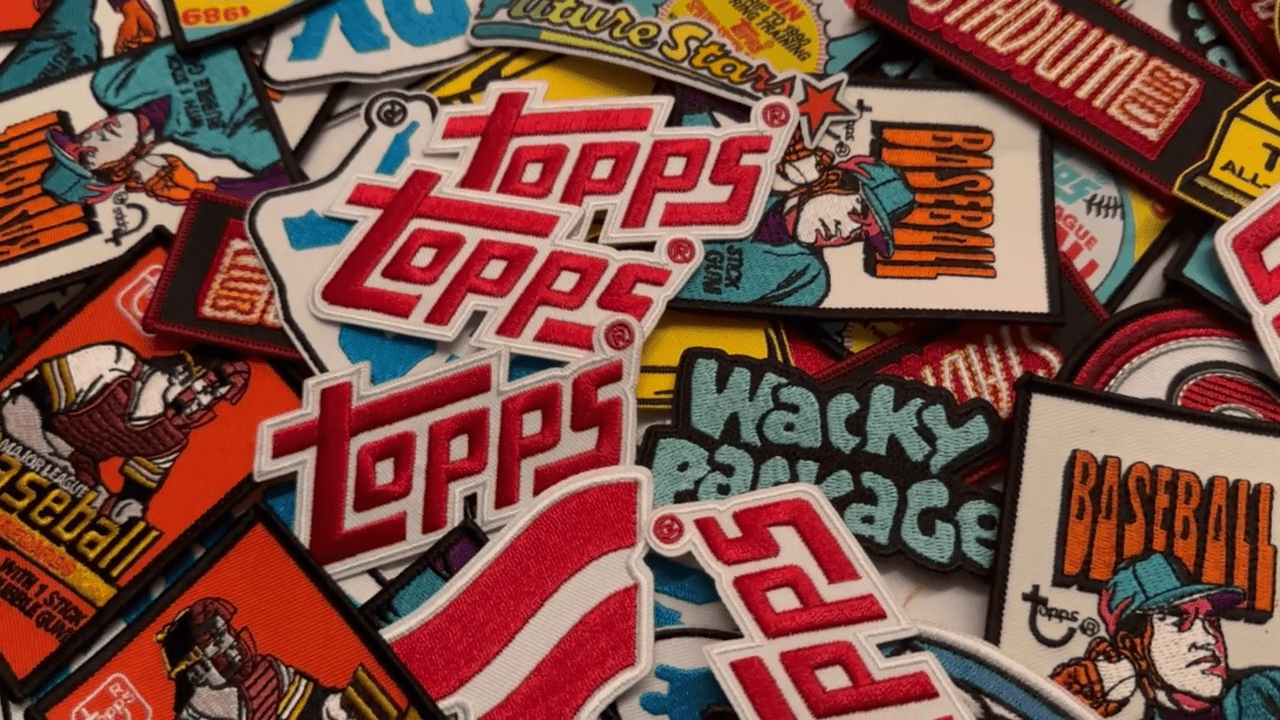
Top Tips for Heat Pressing on Workwear
Heat pressing is a popular method for customizing workwear, offering a professional finish and durability for logos, designs, and text on uniforms, jackets, and other work garments. If you’re looking to make your workwear stand out while ensuring it lasts, mastering the heat pressing process is essential. In this guide, we’ll cover the top tips for heat pressing on workwear, helping you achieve high-quality, long-lasting results.
Understanding Heat Pressing: The Basics
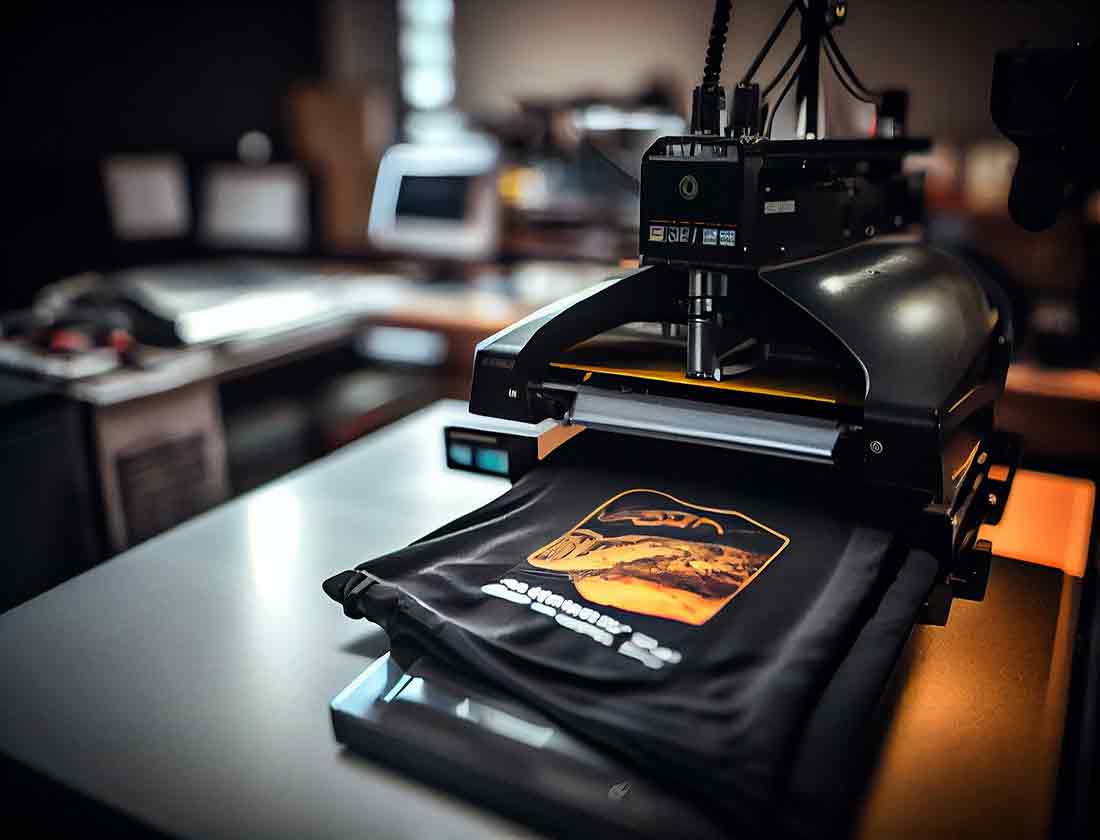
Before diving into the tips, it’s important to understand what heat pressing entails. Heat pressing involves using a heat press machine to transfer a design onto fabric using heat and pressure. This process is ideal for workwear because it creates a strong bond between the fabric and the design, making it durable and resistant to wear and tear.
Types of Heat Press Machines
There are several types of heat press machines, but the most commonly used for workwear include:
Clamshell Heat Press: Features a top plate that opens like a clamshell, making it easy to place the garment underneath.
Swing-Away Heat Press: The top plate swings away from the lower plate, providing more space for placing garments.
Draw Heat Press: The bottom plate can be pulled out, which can be helpful for aligning designs.
Each machine has its benefits, and the best choice depends on your specific needs and the volume of work you’re doing.
Top Tips for Heat Pressing on Workwear
Now that you understand the basics of heat pressing, let’s look at some key tips to ensure your designs turn out perfectly on workwear.
1. Choose the Right Material
Not all fabrics are suitable for heat pressing, so it’s crucial to choose the right material for your workwear. Common materials for heat pressing include cotton, polyester, and cotton/polyester blends. However, certain fabrics such as nylon or spandex may not work well with heat press transfers.
Be sure to check the fabric’s heat tolerance to avoid damaging the material during the pressing process.
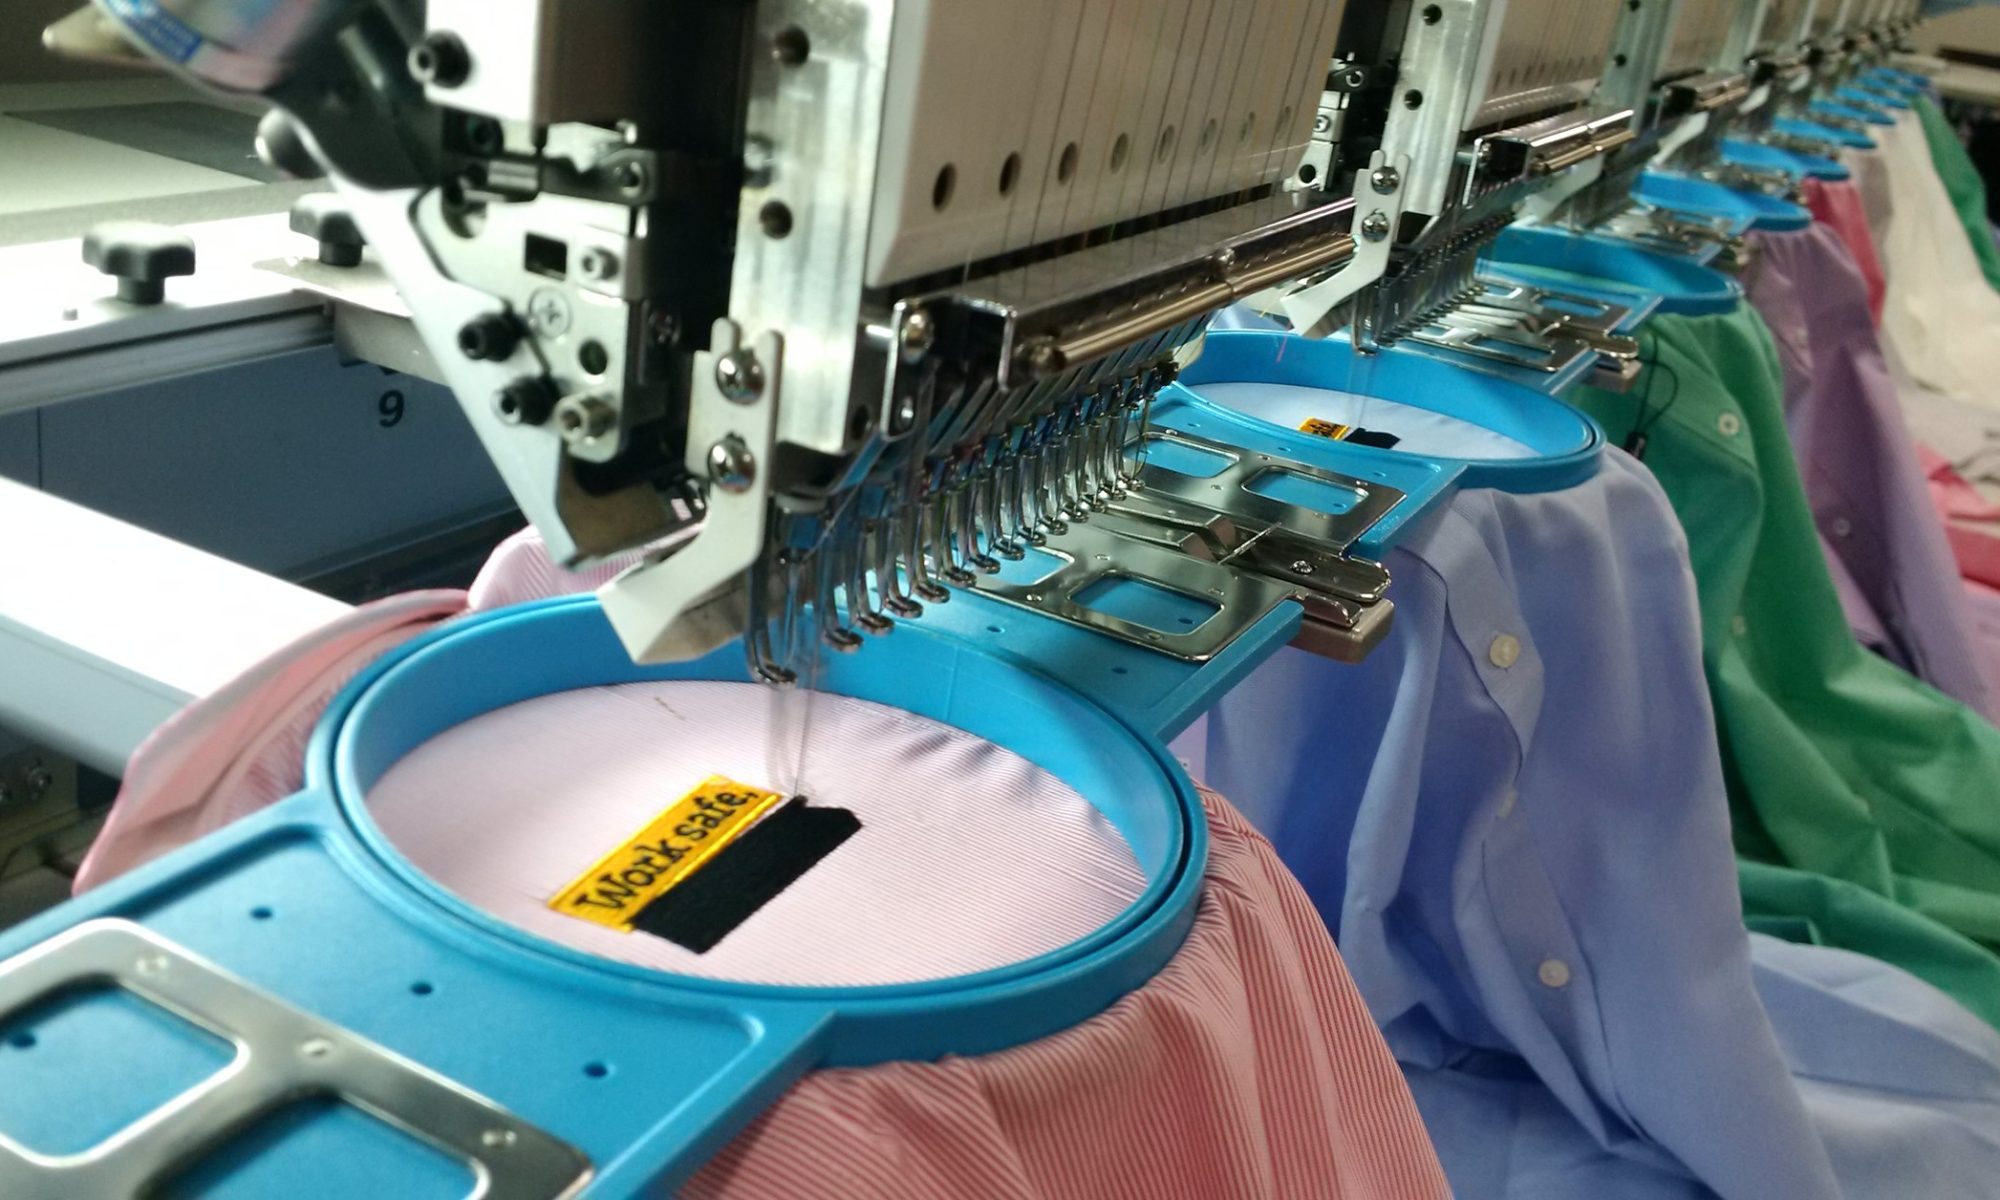
2. Select High-Quality Heat Transfer Vinyl (HTV)
Heat Transfer Vinyl (HTV) is one of the most commonly used materials for heat pressing on workwear. It’s available in various types and finishes, such as matte, gloss, glitter, and flocked. Opt for high-quality HTV to ensure your design stays intact over time, even after frequent washing.

Look for brands that are known for their durability and ease of application. Cheap, low-quality HTV may result in peeling or fading over time.
3. Preheat the Garment
Before applying the design to your workwear, always preheat the fabric for a few seconds. This helps to remove any moisture, wrinkles, or contaminants that could interfere with the transfer process. Preheating also ensures that the fabric absorbs the heat evenly, resulting in better adhesion.
To preheat, simply press the garment for about 5-10 seconds without the design, using the same temperature as you would for the transfer. For heatpress embroidery services, click here.
4. Perfect Temperature and Pressure Settings
Every heat press machine has specific temperature and pressure settings, and it’s essential to follow them for the best results. Typically, the temperature should be between 305°F to 330°F (150°C to 165°C), but it may vary depending on the fabric and the HTV being used.
Ensure the pressure is even throughout the pressing surface to prevent uneven results. Too little pressure can cause the design to lift, while too much pressure may damage the fabric.
5. Use the Correct Pressing Time
The pressing time plays a critical role in the quality of your workwear design. Most HTV transfers require around 10-15 seconds of pressing time. However, this can vary depending on the type of HTV and fabric being used. Be sure to check the manufacturer’s instructions for both the vinyl and fabric for optimal pressing time.
If you press the design for too long, it could burn the fabric, while insufficient pressing time may cause the design to peel off.
6. Allow Cooling Time
After applying the heat press, it’s important to let the garment cool down for a few moments before handling it. This helps to solidify the adhesive bond and prevents the design from shifting or getting damaged.
Avoid peeling the transfer film too soon; let the workwear cool to touch before peeling it off. For sportswear embroidery heat press, go here.
7. Align Designs Correctly
Proper alignment of your design is crucial to ensure a professional finish. Use a ruler or measuring tape to find the center of the garment and mark it lightly with chalk or a fabric marker. This will help you position your design perfectly.
You can also use heat-resistant tape to hold the design in place while pressing to prevent any misalignment during the process.
8. Use a Protective Sheet
To avoid damaging your heat press machine or the garment, always use a protective sheet when pressing. A Teflon sheet or parchment paper placed between the press and the workwear will protect both the garment and the press from excess heat, preventing burns or shiny spots on the fabric.
Protective sheets also help in spreading the pressure evenly over the design for optimal results.
9. Test Before Full Production
Before mass-producing your workwear designs, do a test run on a sample garment. This will allow you to check the temperature, pressure, and time settings, ensuring everything works as expected before pressing large quantities.
Testing also helps you identify any fabric-specific challenges that may arise during the heat pressing process, preventing costly mistakes later.
10. Care for the Finished Workwear
Once your workwear is heat pressed, it’s essential to care for it properly to extend its lifespan. Follow these washing and care tips:
Wash garments inside out to protect the design.
Use cold or lukewarm water, avoiding high temperatures that could damage the design.
Avoid using bleach or fabric softeners, as they can break down the adhesive.
Additionally, do not dry clean your heat pressed workwear, as the chemicals used can ruin the design. https://www.industrialandsafetywarehouse.com.au/exploring-specialty-stitches-in-embroidery/
Conclusion
Heat pressing on workwear is an efficient and reliable method for creating durable, high-quality custom designs that enhance your brand. By following these tips, from selecting the right materials to using proper heat press settings, you can ensure your workwear stands the test of time. With a little practice and attention to detail, you can achieve professional-looking results that will impress your clients and employees alike.
If you’re ready to elevate your workwear, take the time to invest in the right equipment, materials, and techniques. Whether you’re pressing a single design or handling large orders, these tips will help you get the most out of your heat pressing experience. Contact us at industrial safety sydney here.